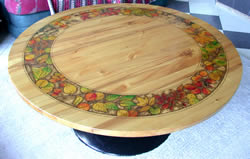
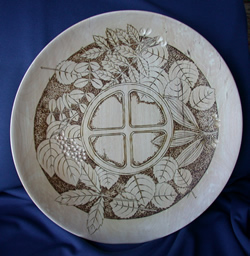
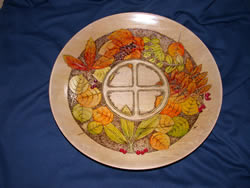
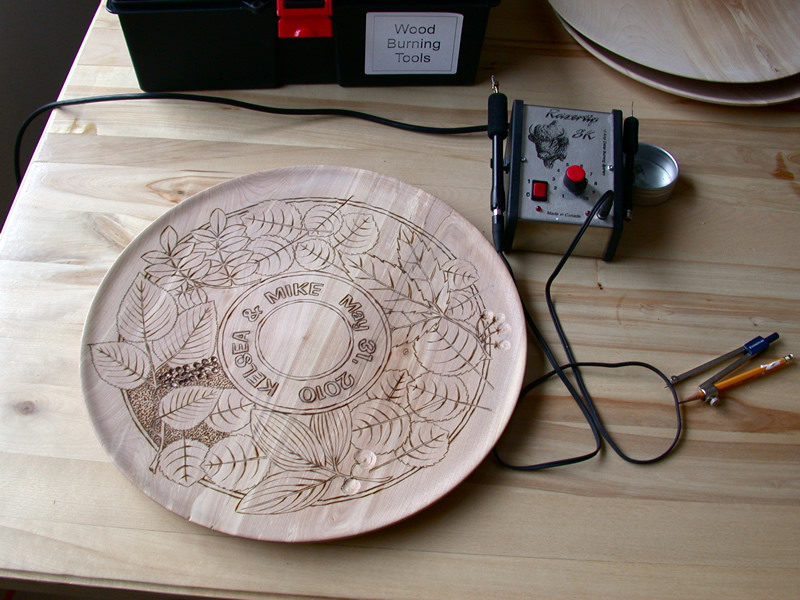
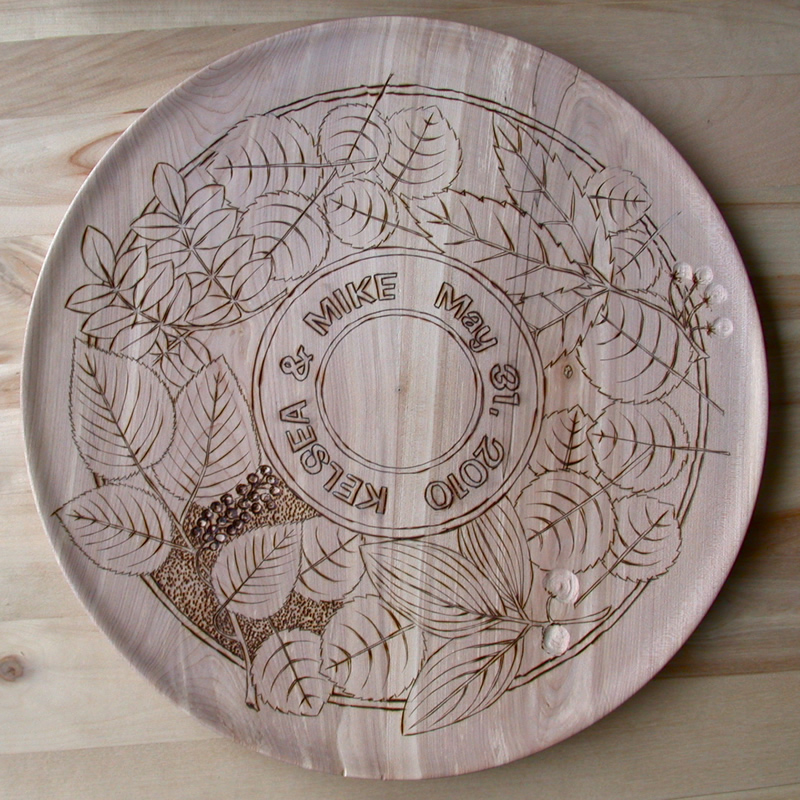
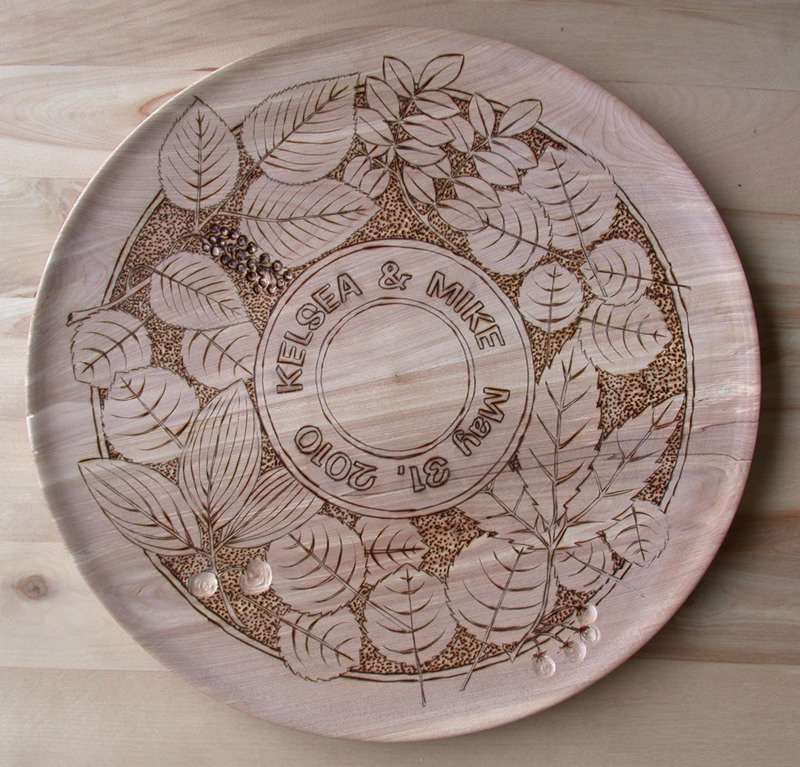
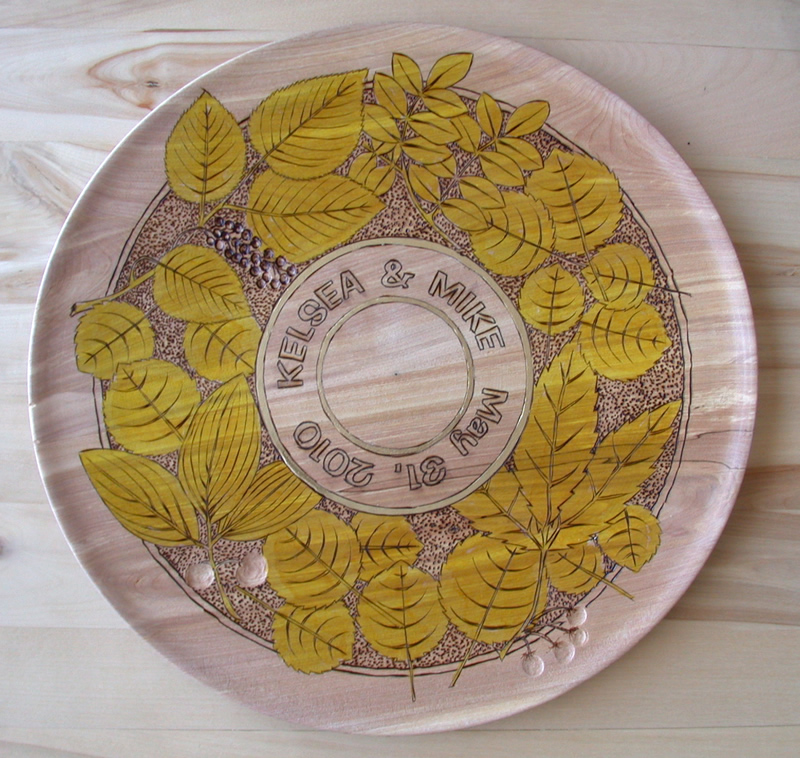
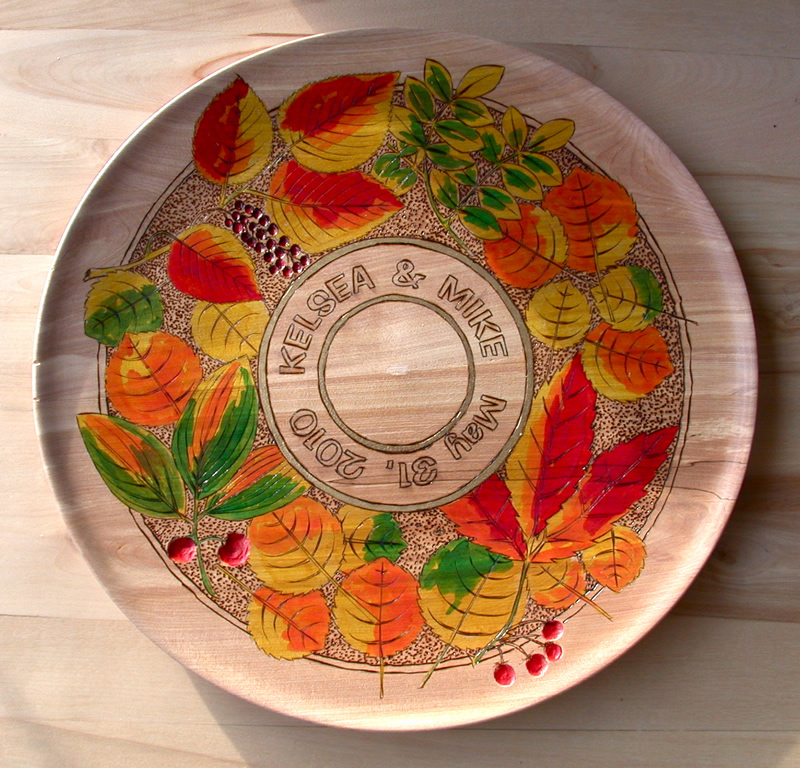
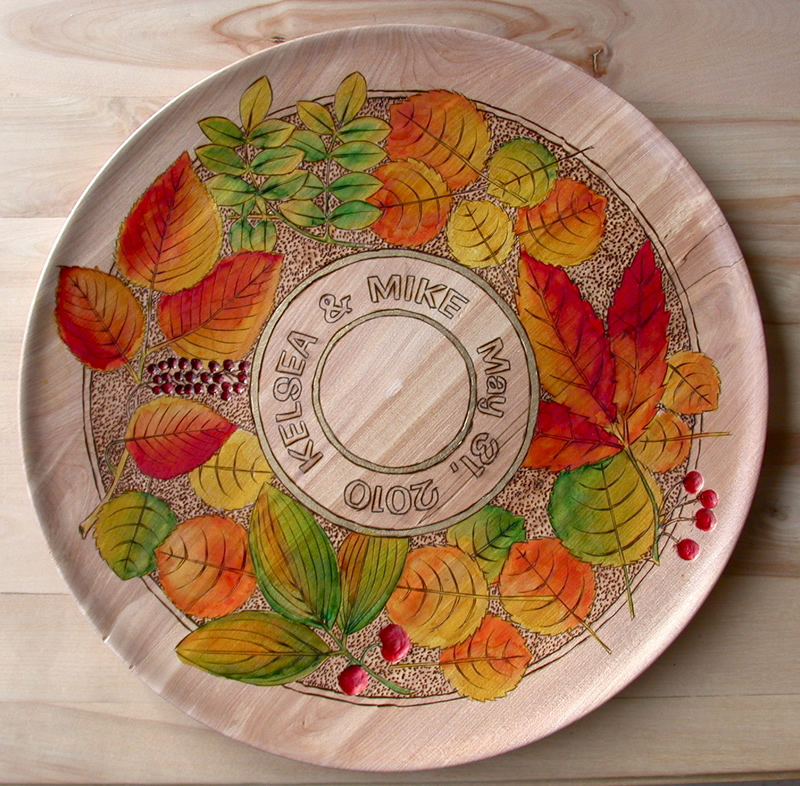
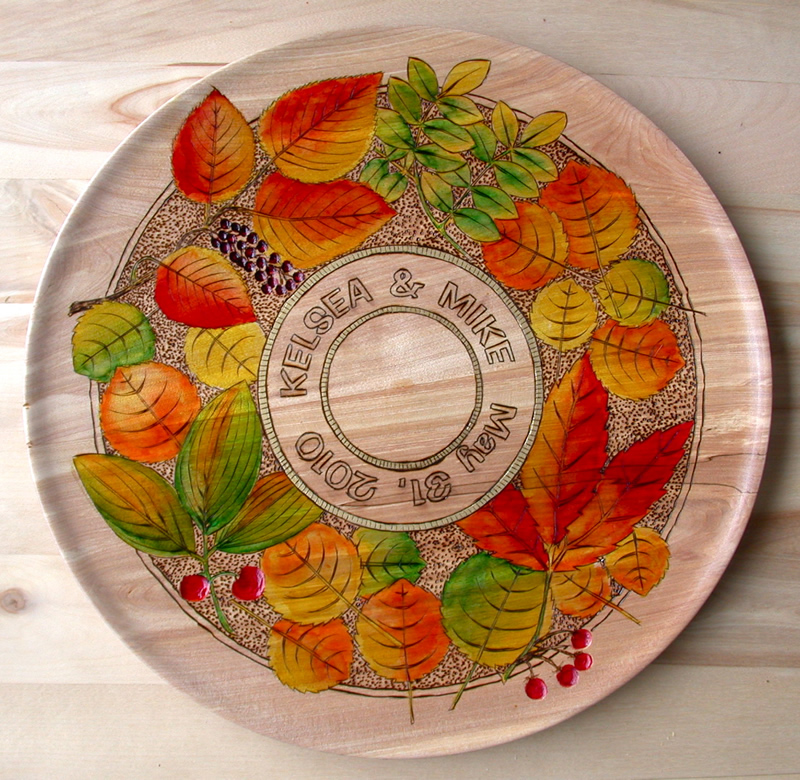
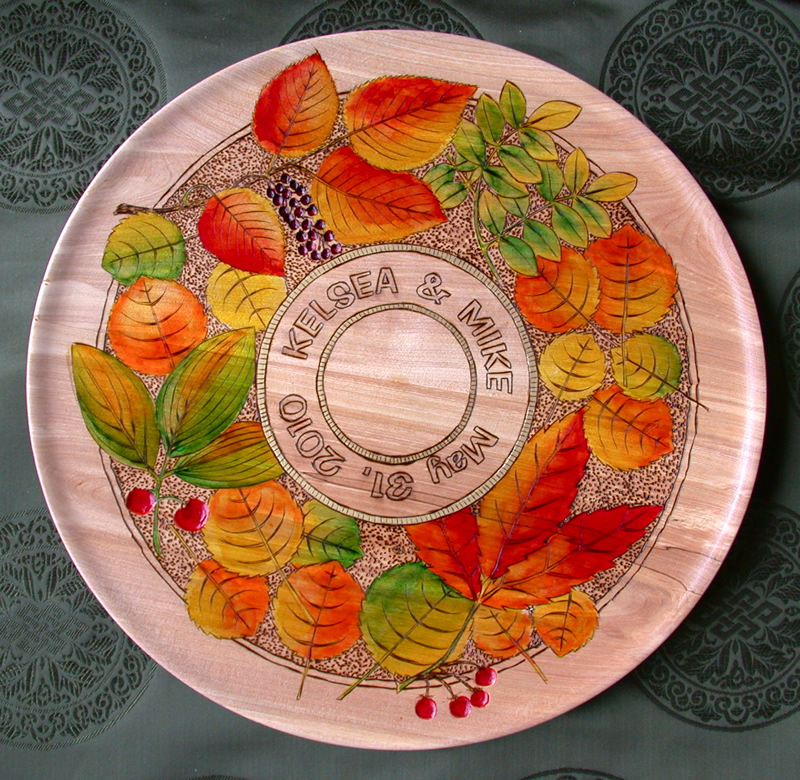
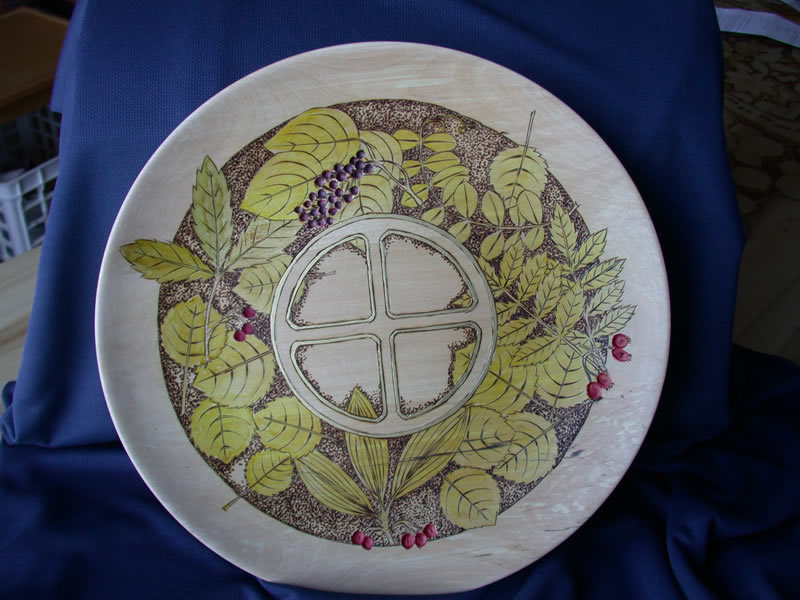
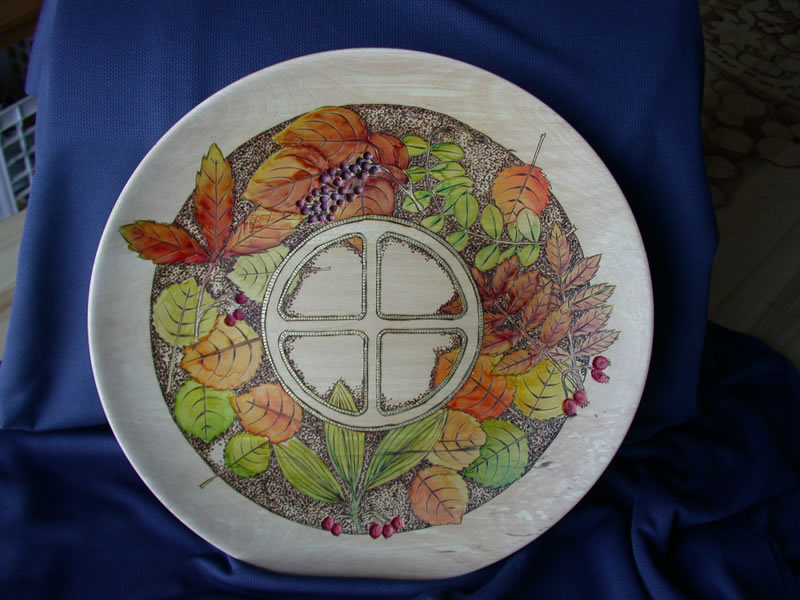
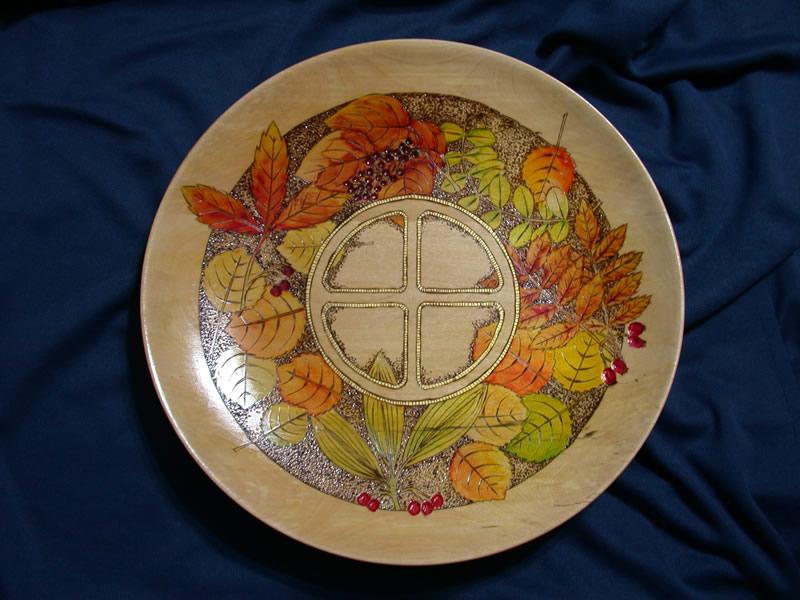
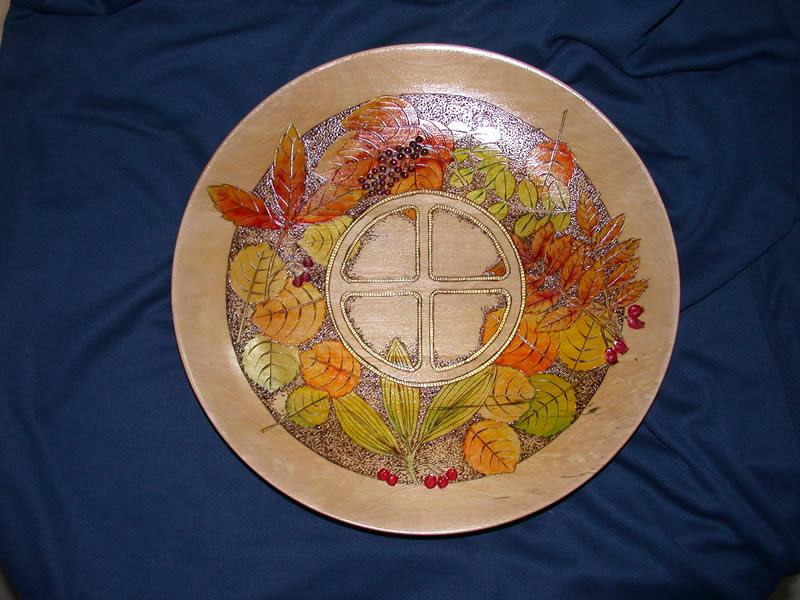
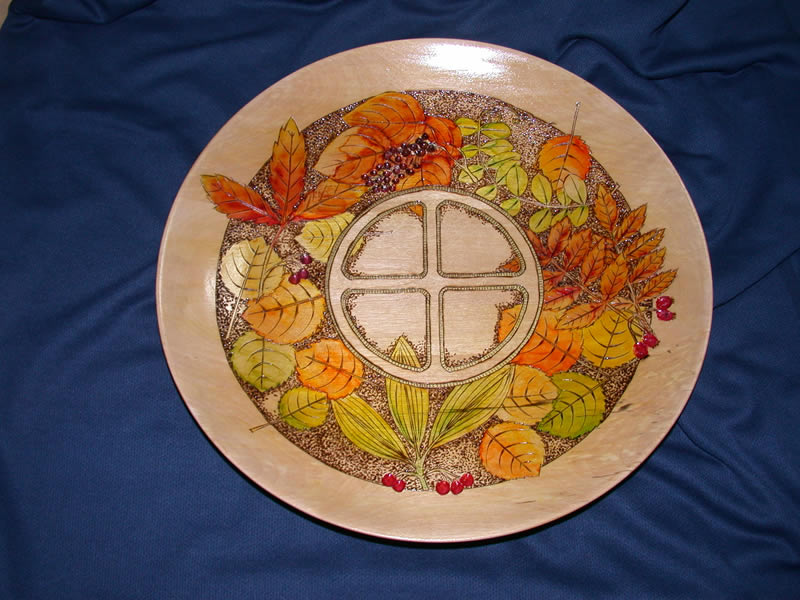
(December
2009) I finished adding an image to a
large (16 inch diameter ) birch plate. I first burned the image
into the raw wood, then I sealed the wood with two coats of
sealing finish, and then I added colour with alcohol-based aniline
dyes. I
used a pallet of yellow, green, red and orange with a touch of blue
for the chokecherry berries. I also used a gold metallic paint
for the trim around the Sacred Hoop image. Although I liked
the simple burned image I also like the dressed up, coloured
version . The dyes work much like water-colour washes on
the sealed wood. There is some dye penetration through the finish
because of the alcohol base to the dye, but it is manageable
and can even be partly flushed out with a wash of clear alcohol. I
started with a yellow base and then added other colour on top. Then
I took a brush loaded with additional yellow and blended the colours. When
these had dried I applied a coat of urethane varnish. This
varnish seems to cover without dissolving the underlying colour
but brushing
needs to be kept to a minimum. A lacquer spray or brushing
would totally dissolve the colours and I would have a huge
mess ( I know, I did it once!) I show three images of
the final piece under slightly different light and camera angles
to reduce glare. The final three images are with flash
and not natural light as were the first images. The images
are thumbnails and can be clicked to see a large image.
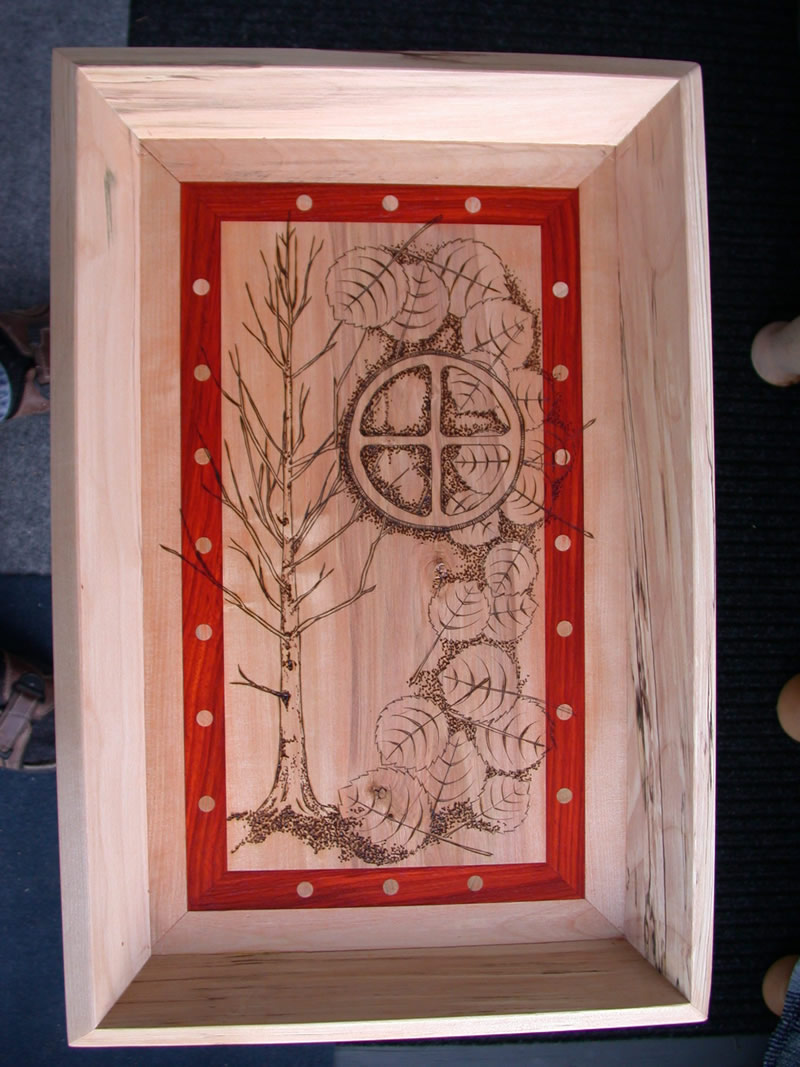
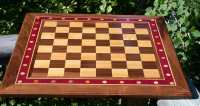
(November
2009) I
am making a series of serving trays similar to those shown on Useful
Gallery. The bottom has a border of red padauk and I have
added aspen dowels in that band to give it a more formal appearance. I
am showing one of the finished trays with birch wood sides. (It
is the method I also used to create the decorative border on the
chess table top shown to the right.)
While I was doing this I
recalled previous efforts and the frustrations
of doing this in more difficult ways. So I thought I
would pass on some of the experience I have gained; When I
make a series of these, I glue up a block which I will subsequently
slice into thinner sheets to serve as tray bottoms. This time
the blocks were 2 5/8 inches thick, the thickness of the centre
block
of birch
wood. I added the padauk and let the glue dry. Then I
added a brad point drill bit to my drill press, clamped a positioning
fence/board
to the drill table to ensure that the bit would
be centred on the middle of the padauk board. I marked off
the locations
for the dowel inserts and proceeded to drill the holes. In
the past I had clamped the padauk board into a vise and then
drilled the holes. This left the board in a less stable
vertical position than was achieved by having it already glued onto
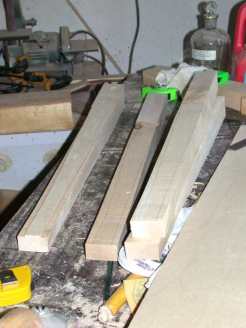
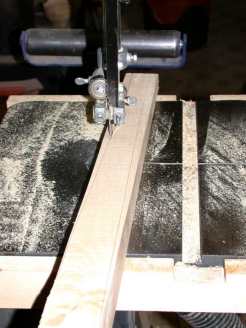
a larger and heavy block. I needed 48 dowels of 2
5/8 inch length. I used masking tape to bind four 36
inch dowels into a bundle so that cutting them on the mitre
saw would not result in the small cut pieces flying off in
all directions. I
added a round of tape for each section to be cut and just marked one
as my cutting guide.
Once
cut, I took the small dowel pieces into the house and into the microwave
oven to dry them and so to shrink their diameter. Once
back in the shop, with a slightly smaller diameter piece
of bamboo as a glue spreader, I glued the insides of the drilled
out holes rather than gluing the dowel pieces. Having just dried
them out to shrink them, the glue added to the dowel would undo that
shrink
effort. They had shrunk enough to be inserted with
no effort other than a light tap to ensure that they were all the way
into the holes. The glue from the hole came into contact
with the dowel and expanded them to make a tight fit in the holes.
I
am now making the tray sides and will assemble them after
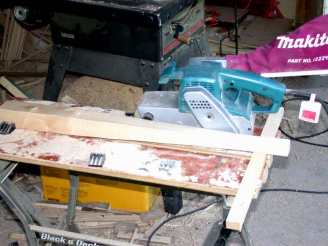
having carved images into the tray bottoms. When I undertake to
cut compound mitre cuts, as required for the tray sides, I have
the full effect of one of my dyslexic traits come to haunt me; I
am prone to doing reversals, and I
need to triple check the proper positions of the board on the saw to
avoid destroying expensive wood. While I have a few other dyslexic
traits, the reversal one probably gives me more grief in the
shop than any other. Writing down measurements also helps so
that a 34 does not become a 43 between the measurement and the cut!
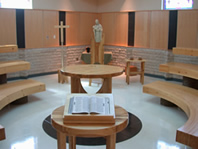
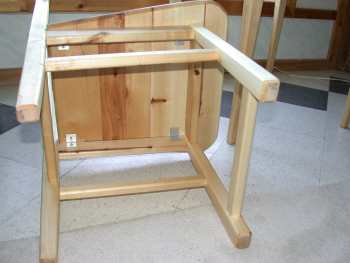
(August
20, 2008) I have finished and delivered ten pieces of a
set of furniture pieces for a Catholic High School Chapel. The
pieces were designed to fit that particular site. They
were commissioned by a committee and the design needed to meet their
approval. To facilitate the process I created a
web page on which I posted the different stages of my proposal.
As a result no actual meeting needed to take place. I
have now also posted the images of the completed items in the
Chapel. It was an interesting and satisfying experience in
the main.. Click
here to see this page.
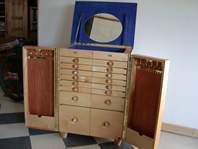
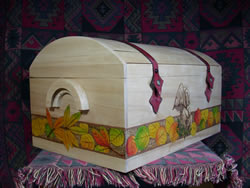
(August
2008) In the Spring I was asked to create a custom chest for
the jewelry and personal items of a friend from whom I was purchasing
a large painting that I had admired for years. I have created
a page with more of the details of this custom piece. I was
able to deliver it in June and then able to bring home the
painting as well. Click
here to see this page.
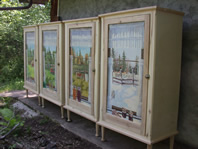
(August
2008) I have posted a page showing details of four simple
armoire units that I made to comply with a special request. At
the beginning of July the client came to take delivery and brought
with him four painted panels that were to be inserted into the doors
of the armoire units. Although the finishing of the armoires
was going to be done by the client, we fitted the panels into the
doors to make sure they worked but then removed them to protect
them during transit. The panels were painted by a deceased
artist friend of mine, and the armoire units are intended for
her grandchildren and step grandchildren as a remembrance of their
grandmother, artist Rose Mineau. Click
here to see this project page.
I
have posted a sequence of photos and comments about the process
I have used to create cremonial rattles. It is a topic on
the Just For Fun page. Click
here to see the description.